To export open subtitles into Final Cut Pro 7 please follow these three steps:
- create a template for FAB Subtitler in Final Cut Pro 7
- export subtitles in FAB Subtitler by using the Final Cut Pro 7 template
- import the exported .xml subtitle file into Final Cut Pro 7
1. Creating a template for FAB Subtitler in Final Cut Pro 7
To create a template for FAB Subtitler in Final Cut Pro 7 please follow these steps:
1.1. In Final Cut Pro 7 click “File>New Project” and display Sequence 1 in Timeline.
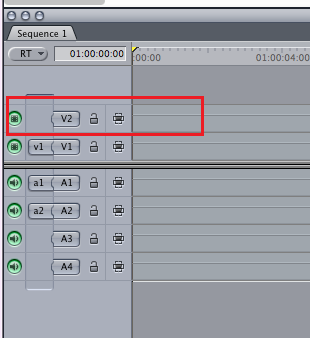
1.2. In the Sequence 1 add another video track as in the picture below:
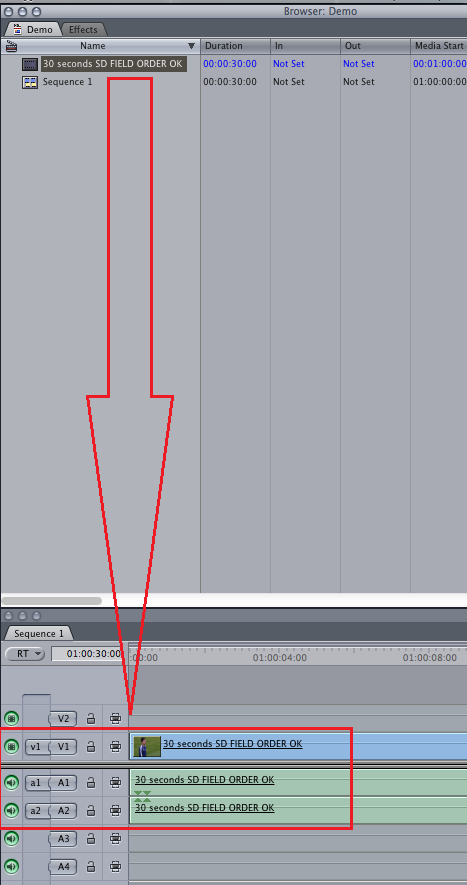
1.3. Put the video file (or part of it) in the sequence window and drag it to the Sequence 1 Timeline window as in the picture below:
1.4. In the Viewer window click on the 
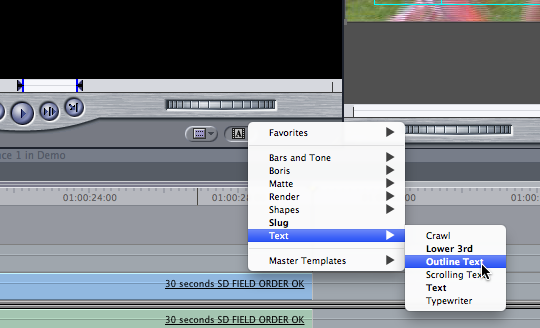
1.5. Click on the sample text in the Viewer window and drag it to the Sequence 1 in Timeline. The box in the V2 should read “Outline text”. Move the slider in the middle of that box and double click on it as in the picture below:
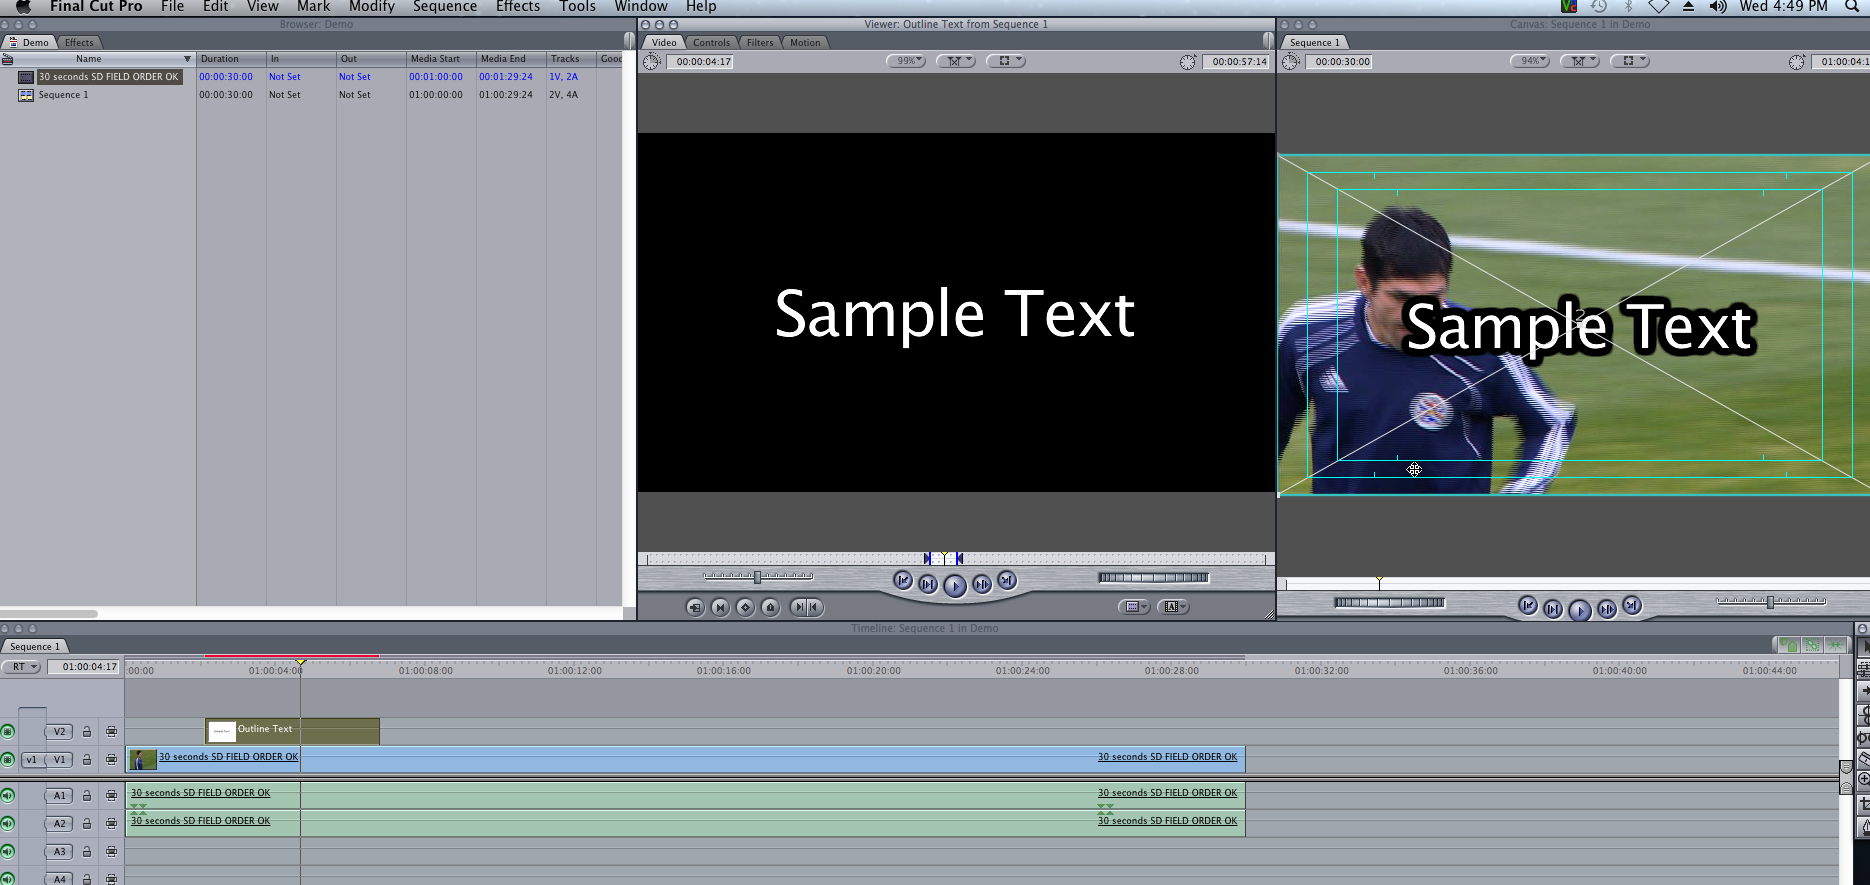
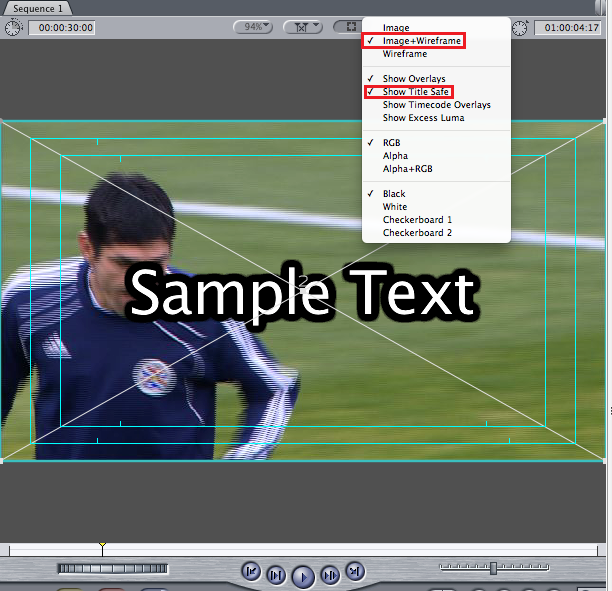
1.6. In the Canvas window enable “Image+wire frame” and “Show Title Safe” options as in the picture below:
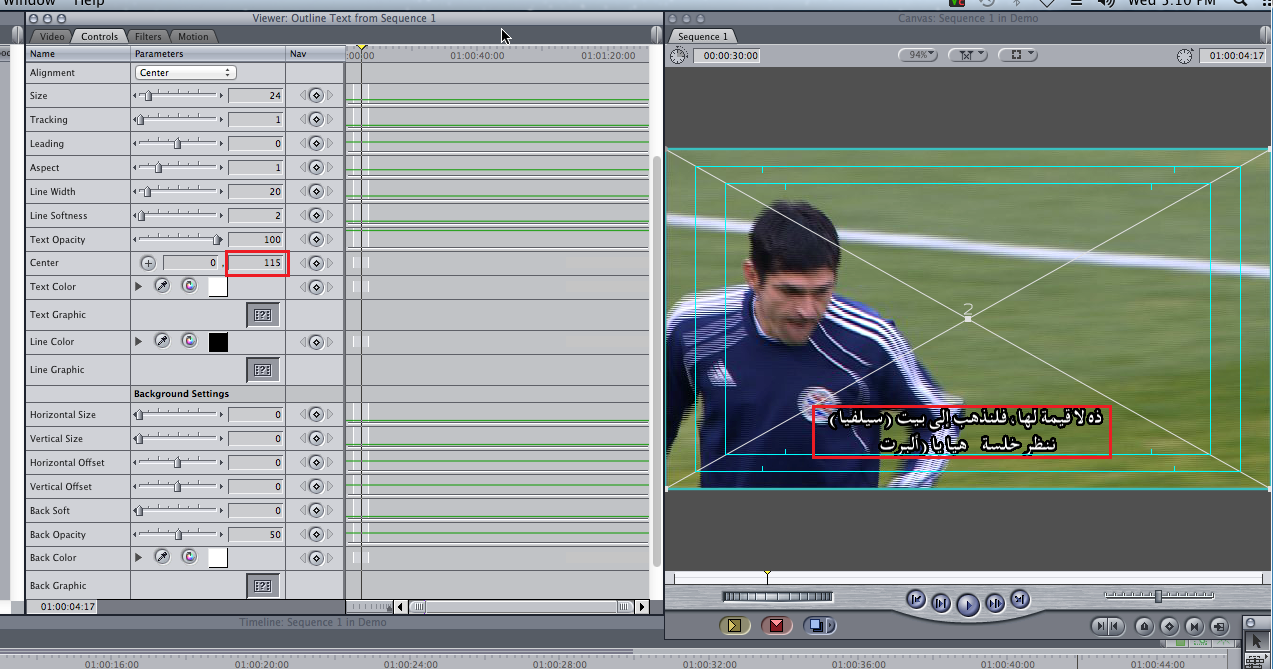
1.7. Double click in the middle of the sample text the Canvas window and choose “Controls” tab in the Viewer window. Input your template text and adjust the font, size, outline… etc. Additionally adjust the “Center” second number in such a way that the subtitles are higher than second horizontal line as in the picture below:
1.8. Save the “Project” and click on the video file in the Timeline window and delete it from the Sequence 1. Rename the Sequence 1 and export it as .xml file Apple XML Interchange Format, version 1.
1.9. You have created a Final Cut Pro 7 template for the export in the FAB Subtitler.
2. Using the Final Cut Pro 7 template in the FAB Subtitler export
The next step is exporting subtitles from FAB Subtitler using the created Final Cut Pro 7 template:
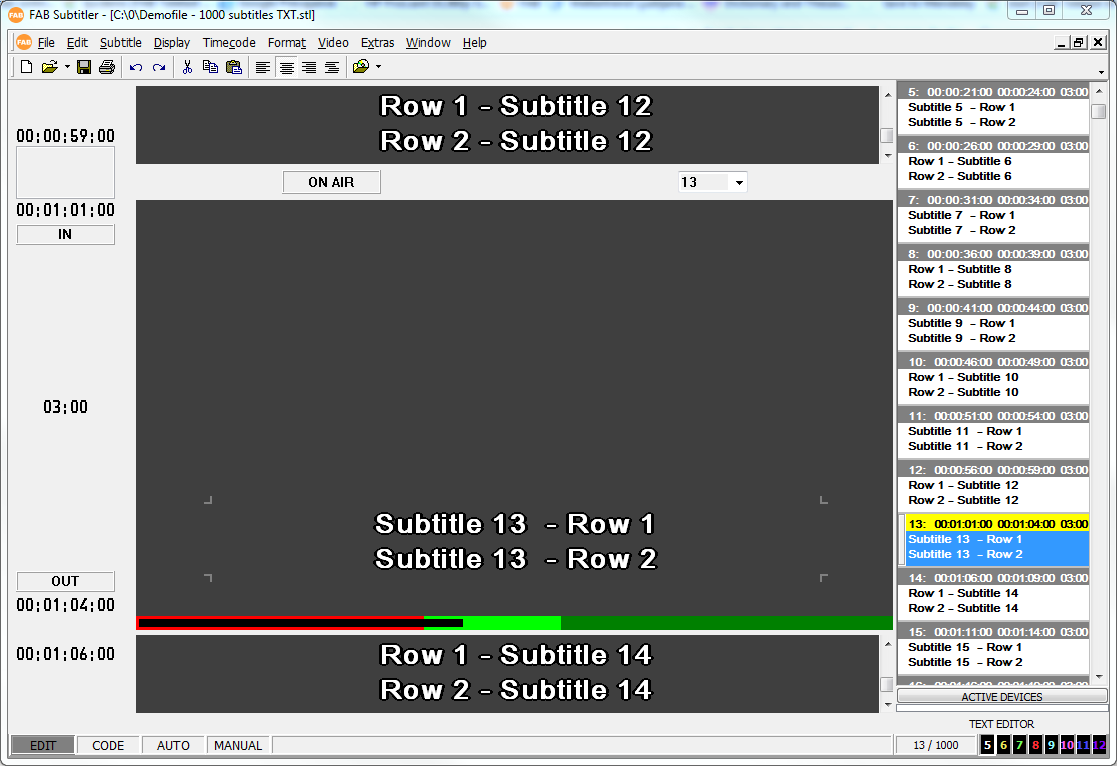
2.1. Load or create a subtitle file in the FAB Subtitler as in the picture below:
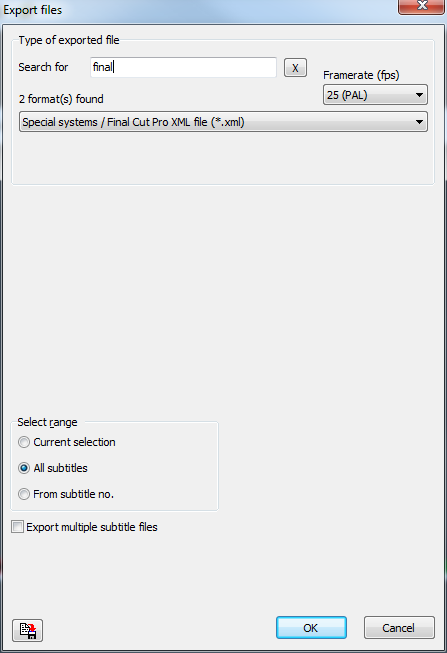
2.2. Click on “File>Export…” and select “Special systems/Final Cut Pro XML file (*.xml) as in the picture below:
2.3. Click “OK” an select an .xml Final Cut Pro 7 template you created in the previous sequence from your disk as in the picture below:
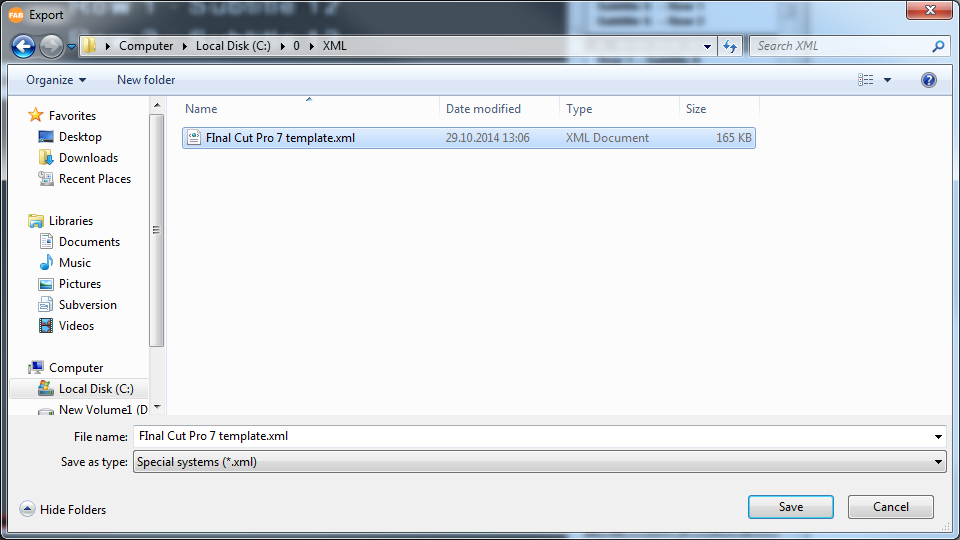
2.4. Click “Save” and an .xml Final Cut Pro 7 file will be created according to the template.
IMPORTANT: Please note that all the subtitles will have the same position and formatting as has been defined in the template.
3. Importing of the exported .xml subtitle file into Final Cut Pro 7
To import the exported subtitle .xml Final Cut Pro 7 file into Final Cut Pro 7 follow these steps:
3.1. In Final Cut Pro 7 click “File>New Project” and display Sequence 1 in Timeline.
3.2. In the Sequence 1 add another video track as in the picture below:
3.3. Put the video file in sequence window and drag it to the Sequence 1 Timeline window as in the picture below:
3.4. Load the .xml file with subtitles into video track “V2” and merge the files together.
3.5. Save the merged video file.
This page was last updated on 2021-05-06